Listed as Free on Udemy when checked on 9 November 2026. No coupon or subscription trial is required for the listed lessons. Enrollment needs a Udemy account; availability can change.
About this course
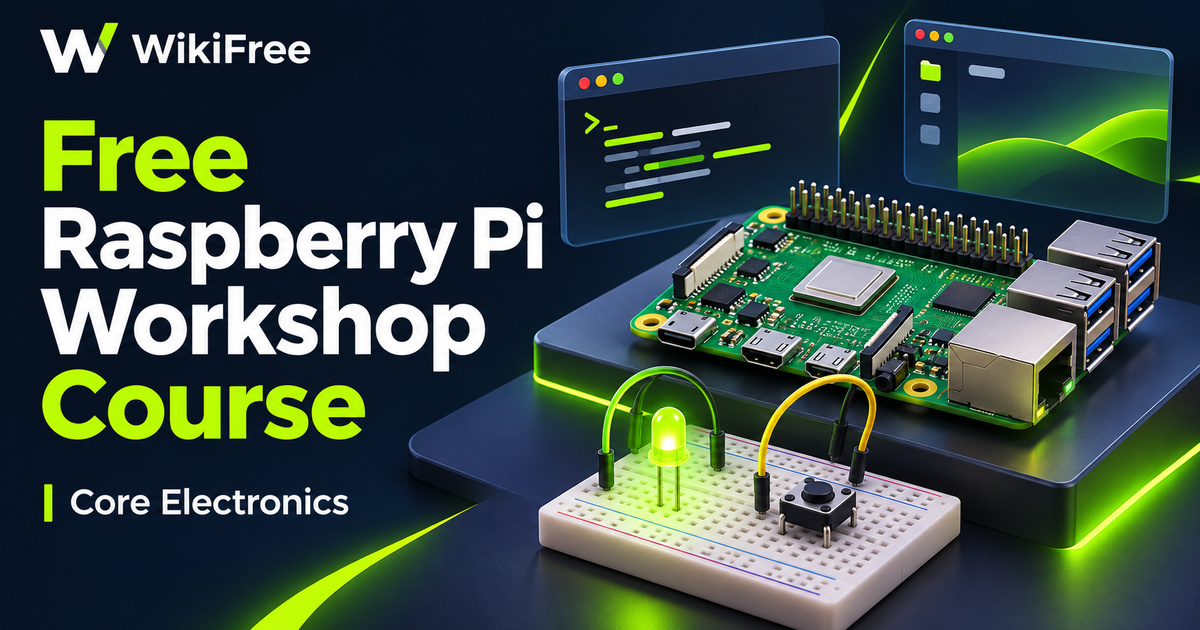
A Raspberry Pi can become a meeting point between everyday software and small electronics projects. A script can organize files, a button can trigger an event, and a desktop window can provide controls for a physical output. This free workshop from Core Electronics introduces those connections through a sequence of practical examples, giving learners several directions to explore without requiring them to choose a specialist project immediately.
The English-language course contains five sections and 29 listed lectures, totaling about three hours and 41 minutes. Michael, named in the course description, presents a progression from initial setup to Python, shell scripting, desktop interfaces and internet-connected demonstrations. The recordings were last updated in March 2018, so the course is best approached as a historical introduction with useful programming concepts and version-dependent practical steps.
| Official course | Raspberry Pi Workshop 2018 Become a Coder / Maker / Inventor |
|---|---|
| Created by | Core Electronics |
| Platform | Udemy |
| Language | English |
| Level | Beginner |
| Listed duration | 221 minutes; 29 lectures across 5 sections |
| Completion terms | Not included with a new free enrollment |
What you’ll learn
Explore the Raspberry Pi as a small computer, follow introductory Python examples, and understand how GPIO connects software with external circuits. Learn the purpose of shell arguments, variables and scheduling, then see how Tkinter widgets and event handlers organize a desktop interface. Recognize where older installation and cloud-service demonstrations need current documentation before practical use.
Skills you’ll gain
- Raspberry Pi workflow awareness
- Introductory Python reasoning
- GPIO project planning
- Shell scripting fundamentals
- Task scheduling concepts
- Tkinter interface structure
Build a foundation before connecting hardware
The opening section discusses the board, operating-system installation, desktop configuration, shell navigation and software updates. Its hardware recommendation centers on Raspberry Pi 3, and its installation lesson uses NOOBS. Treat those details as part of the recording’s context. Current Raspberry Pi setup documentation uses Raspberry Pi Imager, with operating-system selection tied to the particular device. A learner using newer hardware should prepare that environment from current official instructions before comparing it with the older demonstrations.
The Python section moves from variables and functions toward GPIO. One example produces a text-based sine-wave display, making repetition and mathematical functions visible without presenting the exercise as signal-processing training. Later lessons introduce an LED effect and the Sense HAT emulator. Together, these examples offer different ways to connect an abstract programming idea with an observable result.
The course explicitly cautions learners to shut down and disconnect power before prototyping circuits. Preserve that habit, and check the electrical requirements and pin assignments for the actual board and components. Watching a GPIO demonstration does not establish that an arbitrary circuit, sensor or expansion board is compatible with your setup.
Make scripts useful and interfaces understandable
Shell scripting receives its own section. The sequence introduces permissions and arguments, adds variables and decisions, and develops an archiving example before discussing scheduled execution. This gives a concrete reason to learn command-line structure: a script can turn a repeated operation into an organized process. Use disposable practice files first, particularly when experimenting with copying, deletion or scheduled jobs. An example archive script should not be treated as a complete, tested backup strategy for valuable data.
The desktop section introduces Tkinter through windows, widgets and event functions. Buttons, text entry, menus and additional windows become pieces of an interface that responds to user actions. The LED command-center example connects interface input with hardware output. These lessons introduce application structure; they do not establish production readiness, accessibility compliance or reliable operation on every current software configuration.
Keep the internet-connected examples in context
The closing section explores IoT services, Particle Pi and IFTTT, including communication between boards. The legacy Particle on Raspberry Pi project used by this period of training has been discontinued, and Particle warns that its archived instructions may no longer work. Particle now documents a separate Linux platform that includes Raspberry Pi, but that does not make the older course steps compatible with the current platform. Study the old examples for their event-and-device relationship, not as a promise of a working cloud integration today.
For an independent study exercise, sketch a small desktop control panel and describe what each button should do before writing code. Separate the interface event, program function and hardware action, and note which parts require current documentation. This is an editorial practice idea, not an additional assignment supplied by the instructor.
Read the legacy Particle Pi notice: Official notice that the older project is discontinued. Check current Particle for Linux: A separate current platform; not proof that legacy course steps still work.
Related courses for your next step
- Explore microcontroller basicsFree Arduino Board and IDE Course
Compare a microcontroller learning workflow with a Raspberry Pi computer.
Beginner
- Plan electronics fabricationFree KiCad Schematic and PCB Course
Explore schematic and PCB preparation as a separate electronics workflow.
Beginner
Frequently asked questions
Is the course free?
The course page currently offers free access to the lessons. Hardware, accessories and any external service costs are separate.
Is this a current Raspberry Pi setup guide?
It is a 2018 workshop. Use current official setup and hardware documentation alongside its programming examples, and treat the legacy Particle integration as historical.
Does it include a guaranteed certificate or complete project kit?
No such guarantee is made here. The course description points to supporting material, but this overview does not promise a supplied kit, current cloud compatibility or a professional qualification.
Questions & discussion
Share a useful question or correction. Comments appear after moderation. Please avoid personal or sensitive information.