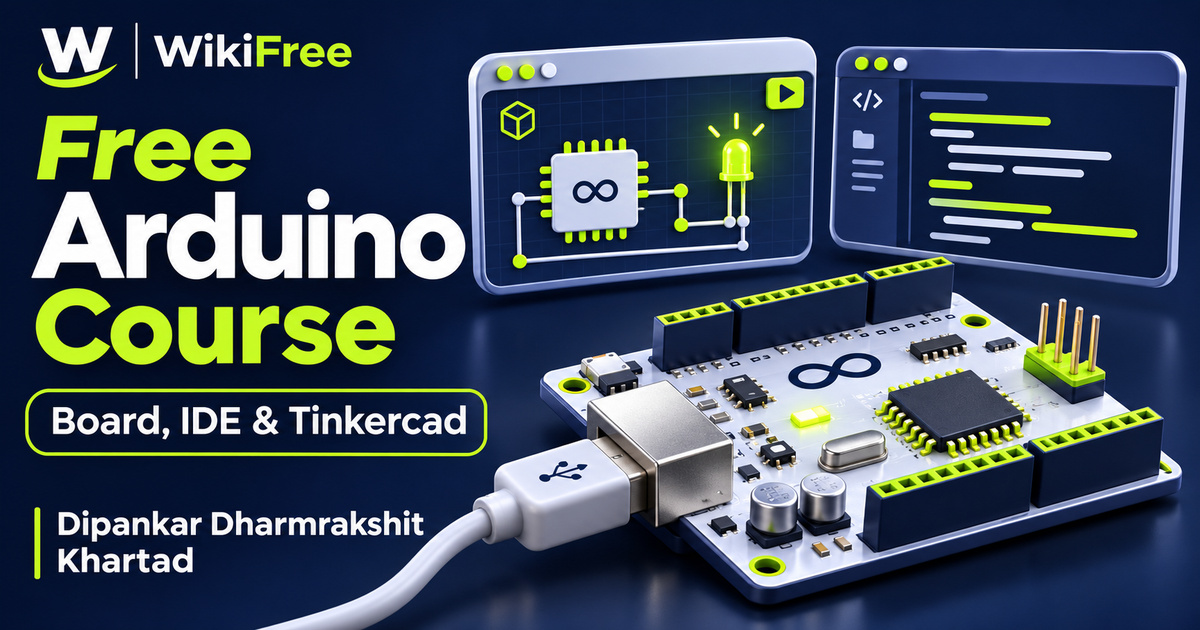
Listed as Free on Udemy when checked on 7 November 2026. No coupon or subscription trial is required for the listed lessons. Enrollment needs a Udemy account; availability can change.
About this course
An Arduino project connects an idea, a programme and an electronic board. Before attempting a larger build, it helps to understand what each part contributes and how code reaches the hardware. Dipankar Dharmrakshit Khartad’s Hands-on Arduino using Online Platform offers a compact introduction to that relationship, including a look at browser-based simulation in Tinkercad.
The free English course currently contains six videos across two sections, with a combined duration of thirty-nine minutes and sixteen seconds. It lists basic science and basic C language knowledge as prerequisites. This makes it a starting point for learners who already recognize simple programming concepts and want an orientation to Arduino tools and development-board terminology.
| Official course | Hands-on Arduino using Online Platform |
|---|---|
| Created by | Dipankar Dharmrakshit Khartad |
| Platform | Udemy |
| Language | English |
| Level | Beginner |
| Listed duration | 39 minutes; 6 lectures across 2 sections |
| Completion terms | Not included with a new free enrollment |
What you’ll learn
Identify the broad role of an Arduino development board, its microcontroller and its connections. Follow an introduction to the Arduino IDE and the process of connecting a board to a computer. Explore how Tinkercad provides a virtual circuit environment for learning, while keeping simulation, compilation and uploading to physical hardware distinct.
Skills you’ll gain
- Development-board terminology
- Microcontroller workflow awareness
- Arduino IDE orientation
- Board and port distinction
- Compile and upload distinction
- Circuit simulation planning
Understand the board before the project
The first section asks what Arduino is and why someone might choose it for a prototype. It then spends its longest lesson on the development board itself. This order encourages you to understand the platform before concentrating on individual lines of code. A microcontroller executes the programme, while the surrounding board provides practical connections for power, programming and input or output.
Connect component roles with documentation
Learning the parts of a board makes later instructions easier to interpret. A sensor supplies information about something being measured; an output or actuator responds to a programme’s decisions. Those broad roles do not mean every component can be connected to any pin. If you later use real hardware, check the documentation for that board and component, including electrical limits and connection requirements, rather than transferring a generic diagram without review.
Recognize the IDE and connection workflow
The second section introduces downloading the Arduino IDE and connecting a board to a PC or laptop. The IDE is where you prepare a sketch and work with the tools that compile and transfer it. Current Arduino guidance distinguishes choosing a board type from choosing a connection port: the former determines the target configuration, while the latter identifies a connected device. A compatible data USB cable is needed for a physical connection.
Separate compilation from upload
Compilation and upload answer different questions. Verification checks whether the sketch can be compiled for the selected target; upload transfers the compiled programme to the board. A successful compilation alone does not prove that the intended board received it or that the circuit behaves correctly. Keeping those stages separate helps you describe a problem accurately when moving from the introductory demonstration to your own experiment.
Explore the virtual route
The final lesson introduces Tinkercad as an online way to explore Arduino. Autodesk describes Tinkercad Circuits as a free web environment for arranging components, programming virtual projects and running simulations without additional hardware. It can make an initial experiment more accessible when you do not own a board. Access arrangements for that external platform are separate from watching the Udemy lessons.
Keep simulation and hardware checks distinct
A simulation gives feedback about the model you created, but it does not establish that a real circuit has been wired safely or will behave identically under physical conditions. Treat the virtual and physical routes as related learning environments with different checks. You can begin by understanding a simulated result and later compare it with appropriately documented low-voltage hardware work, without treating the simulation as a product certification.
Use the actual introductory scope
The course description refers to four modules and broader sensor and project work, while the available curriculum lists only two sections and six videos. This page describes that smaller, visible introduction. It does not promise the additional sensor-interface and project modules as completed lessons. The recordings were last updated in April 2021, so installation screens and online interfaces may also differ from current versions.
Plan one small observable result
For an optional planning exercise, choose a simple virtual indicator idea and write down its input, intended output and expected behaviour before changing any code. Then identify which observation would show that the idea works in the simulator. This is an editorial suggestion, not a supplied assignment or an assertion that a specific project is included in the course. It keeps your first experiment small enough to explain.
Choose your next step with clear expectations
The listed lessons are free to study. Physical boards, cables and components are separate purchases if you choose that route, and any later services or training have their own terms. This short course can help you recognize the board-to-software workflow and choose a sensible next learning step. It does not promise a certificate, a complete embedded-systems education or a finished device ready for deployment.
Related courses for your next step
- Explore another beginner programming workflowFree Python Programming Course
Practice basic programming ideas in Python; this is separate from the Arduino course’s C prerequisite.
Beginner
Frequently asked questions
Is a physical Arduino board needed to watch the lessons?
No. Watching is separate from hardware ownership, and the course includes an introduction to Tinkercad simulation. Physical practice requires suitable hardware.
Are four full modules included?
The current curriculum contains two sections and six videos. The broader four-module description is not a promise that additional sensor and project lessons are available.
Does the course start from no programming knowledge?
It lists basics of C language and basic science as prerequisites, despite being classified as Beginner.
Questions & discussion
Share a useful question or correction. Comments appear after moderation. Please avoid personal or sensitive information.