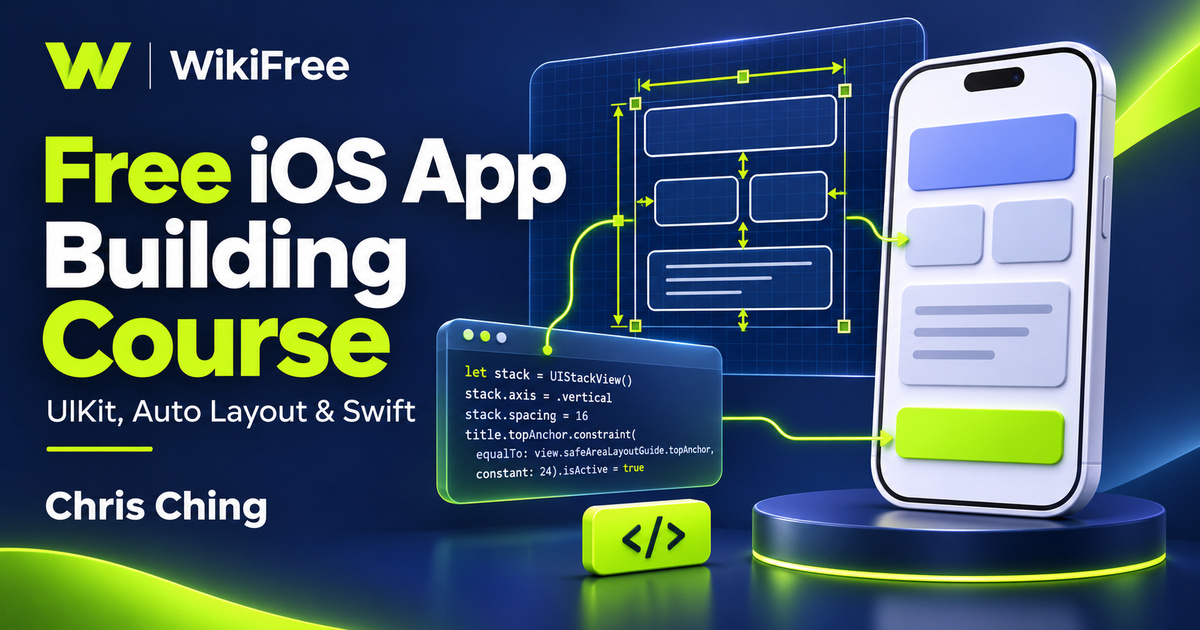
Listed as Free on Udemy when checked on 7 November 2026. No coupon or subscription trial is required for the listed lessons. Enrollment needs a Udemy account; availability can change.
About this course
A button becomes more interesting when tapping it changes what appears on screen. Chris Ching’s beginner iOS course connects that visible interaction with the layout and Swift code behind it. The sequence starts with a simple interface, develops its structure and then adds the language concepts needed to connect controls, change images and make decisions.
The free English course contains fifteen videos in one section, with a combined duration of four hours, nineteen minutes and thirty-five seconds. It includes three exercise videos and lists thirty-three downloadable resources. The teaching dates from May 2019 and describes Swift 5 and Xcode 10, so it is best approached as a guided introduction to the UIKit and storyboard workflow, with adjustments for a modern development environment.
| Official course | How To Make An App For Beginners (iOS/Swift – 2019) |
|---|---|
| Created by | Chris Ching |
| Platform | Udemy |
| Language | English |
| Level | Beginner |
| Listed duration | 259 minutes; 15 lectures across 1 sections |
| Completion terms | Not included with a new free enrollment |
What you’ll learn
Explore Xcode and Interface Builder, position interface elements with Auto Layout, and organize related views with UIStackView. Follow Swift values, functions and objects before connecting storyboard elements to code. Then examine button-driven image changes and conditional logic within the instructor’s War Card Game example.
Skills you’ll gain
- Interface Builder orientation
- Auto Layout relationships
- UIStackView composition
- Layout troubleshooting concepts
- Swift objects and functions
- Storyboard event connections
Start with a screen you can explain
The opening lesson introduces the tools and a small Hello World interface. Keeping the first screen simple helps you separate basic project setup from the behavior you will add later. A useful early milestone is knowing which file or editor controls each part of the result, rather than being able to reproduce a series of clicks without understanding where they lead.
Describe the relationships
Auto Layout receives substantial attention, including a bonus lesson and an exercise video. Constraints describe relationships between interface elements: where something sits, how it is sized and how it relates to nearby content. Learn to explain a constraint in ordinary language. If you cannot say what relationship it expresses, changing its number repeatedly is unlikely to clarify the design.
Give grouped views a structure
The stack-view lessons introduce a way to arrange groups of elements with less manual constraint work. Axis, spacing, alignment and distribution each answer a different layout question. Apple’s documentation clarifies an important boundary: a stack view manages its arranged content, but the developer still defines the stack’s own position and, when needed, its size. It works with Auto Layout rather than removing layout responsibilities altogether.
Check more than one arrangement
The interface example combines stack views, constraints and size classes. The instructor uses a War Card Game screen to demonstrate adapting a composition to different available spaces and orientations. Treat that as a reason to test variations. An attractive preview at one size does not establish that every supported configuration behaves correctly, especially when labels become longer or text sizes increase.
Read layout problems carefully
When a layout behaves unexpectedly, first identify the kind of problem. Conflicting required constraints cannot all be satisfied, while an ambiguous layout allows more than one valid result. Apple’s Auto Layout guidance explains that runtime conflict handling may break a constraint to keep the interface running. A screen that still appears usable therefore does not prove that the underlying conflict has been resolved.
Trace information through code
Three Swift lessons provide the bridge from appearance to behavior. Variables, constants and data types describe information; functions group related work; classes bring properties and methods together. You can make these ideas concrete by tracing one value from its declaration to the place where it is used. Keep the example small enough that you can predict a change before running it.
Connect a tap with a change
The connection lesson relates these language concepts to the storyboard project. Outlets give code a way to refer to interface elements, while actions connect user events with behavior. The subsequent interaction lesson changes images after a button tap and introduces randomized selection. The final coding lesson applies conditional decisions to the game example. These are practical foundations for understanding event-driven interfaces.
Plan a small interaction
As an optional extension to your own study, design a simple image-pair screen with a button that changes the selected pair. Write down the expected initial display and describe what one tap should do. Then sketch how the same layout could fit a narrower available width. This is an editorial practice suggestion; it does not add a supplied project, downloadable asset pack or assessment to the course.
Use supporting materials thoughtfully
The exercise titles refer to videos. The listing’s downloadable resources may help with the instructor’s examples, but their individual contents and present compatibility are not established here. Check any project or image assets before relying on them, and confirm their permitted use for your intended work. The article does not promise that an old project will open unchanged or that example artwork is licensed for redistribution.
Continue beyond the first example
No prior coding experience is required by the instructor. Following Xcode demonstrations requires suitable Mac hardware and a compatible installation. The lessons are free to view; hardware, optional services and distribution requirements are separate. Use the course to practise layouts and basic interaction, then continue with current documentation and testing. Completing the lessons is not a guarantee of employment, certification or App Store approval.
Related courses for your next step
- Practise the underlying programming ideasFree Python Programming Course
Revisit values, decisions and small programs in a separate introductory course.
Beginner
Frequently asked questions
Is this a SwiftUI course?
The demonstrated workflow uses UIKit, storyboards, Interface Builder, Auto Layout and UIStackView. SwiftUI uses a different approach to interface construction.
Are the exercises separate coding assessments?
The three items with Exercise in their titles are videos. The listing also advertises thirty-three resources whose individual contents are not described here.
Can I use the old project unchanged in current Xcode?
That is not guaranteed. The course describes Xcode 10 and Swift 5; check current requirements and resolve project or interface differences as you work.
Questions & discussion
Share a useful question or correction. Comments appear after moderation. Please avoid personal or sensitive information.