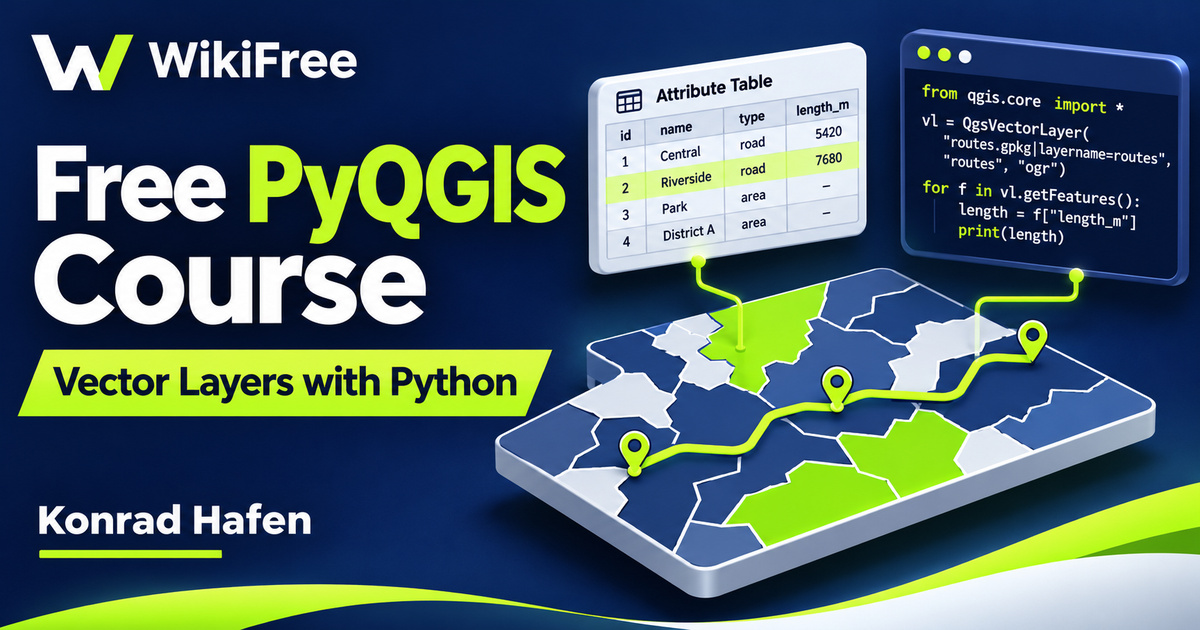
Listed as Free on Udemy when checked on 7 November 2026. No coupon or subscription trial is required for the listed lessons. Enrollment needs a Udemy account; availability can change.
About this course
A map project contains more than the features you can see on screen. Its layers have data sources, fields, attribute values and geometries that Python can inspect. Konrad Hafen’s Introduction to PyQGIS shows how to begin working with those objects through the QGIS Python API, giving existing GIS users a route from repeated interface actions toward small, understandable scripts.
The free English course contains eleven videos in three sections, totaling one hour, six minutes and twenty-six seconds. Although its source level is Beginner, it explicitly requires basic Python and QGIS skills. It is an introduction to this API for learners with that foundation, rather than a first lesson in programming or geographic information systems.
| Official course | Introduction to PyQGIS |
|---|---|
| Created by | Konrad Hafen |
| Platform | Udemy |
| Language | English |
| Level | Beginner |
| Listed duration | 66 minutes; 11 lectures across 3 sections |
| Completion terms | Not included with a new free enrollment |
What you’ll learn
Explore the QGIS Python console and the documentation that supports it. Follow the process of adding a vector layer, keeping a reference to a layer in a variable and changing the project’s layer list. Inspect field definitions, data-source information, individual feature attributes and geometry. Connect these operations into a clearer mental model for reading spatial data with Python.
Skills you’ll gain
- PyQGIS console orientation
- Vector layer management
- Layer reference handling
- Field and attribute inspection
- Geometry type awareness
- API documentation navigation
Move from interface actions to objects
The first section introduces the purpose of PyQGIS, installation and the available API documentation. The useful shift is from thinking only about menu commands to recognizing the application objects those commands work with. You can ask what a layer contains, which methods are available and what a returned value represents. Familiarity with ordinary Python variables and loops makes this transition easier to follow.
Start inside the QGIS console
The next section opens the QGIS Python console and moves into layer management. Working inside QGIS provides an application context that a separate Python interpreter does not automatically have. Use the console to connect code with an observable project state: which layers are present, what they are called and how they appear in the interface. An external standalone script requires its own environment setup beyond this introduction.
Understand what loading a layer requires
Loading a vector layer involves a data-source identifier and the provider that knows how to read it. A file path, a project display name and a Python variable serve different purposes. Keeping those distinctions clear helps when a layer is missing or a script refers to the wrong object. The current QGIS cookbook also recommends checking whether loading succeeded before adding further operations that assume usable data.
Keep references and project state distinct
Saving a layer in a variable gives subsequent code a reference to the object being examined. This is different from exporting a new dataset. Likewise, the lesson on removing a layer concerns the project’s table of contents, not a general instruction to delete source files from storage. Practice these interface operations on a disposable project so you can observe which part of the state changes.
Separate fields from feature values
The final section begins with fields and source information. A field definition describes a column, including its name and type; an attribute value belongs to a particular feature. Separating the two makes a loop easier to understand. First identify the structure you expect, then inspect the values you actually receive. A dataset with different field names cannot be assumed to match a demonstration just because both contain roads or places.
Read geometry with its context
Feature geometry is another part of that model. Points, lines, polygons and their multipart forms need appropriate handling; a geometry is not interchangeable with the attribute table describing it. The course introduces access to geometry rather than providing a comprehensive spatial-analysis curriculum. When you later add measurements, coordinate systems and units matter: a raw geometry calculation should not automatically be reported as a real-world distance in metres.
Adapt the historical examples thoughtfully
The recording was last updated in November 2020. Installer choices, API details and documentation examples can change across QGIS releases, so consult the reference for your installed version when adapting code. An introductory workflow can still be useful without every old screen or method behaving identically today. The course does not establish compatibility with every later release or certify a script for production use.
Keep the introductory scope clear
The syllabus includes a short bonus lecture. Its general summary mentions additional geometry and buffer topics, but this page does not promise a substantial extra project from that brief description. The defined core is console use, layer management and reading vector-layer information. These ideas may support future automation or plugin work, while a complete custom plugin, validated analysis pipeline and tested deployment remain separate undertakings.
Plan a small read-only inspection
As an optional practice exercise, choose a small vector dataset you are permitted to use and plan a read-only inspection. Write down its display name, source, field names and geometry type, then explain which information belongs to the layer and which belongs to one feature. This is an editorial exercise, not a supplied course assignment. Keep the original dataset unchanged while checking whether your expectations match what the API reports.
Build a foundation for further work
QGIS is free software, and this listed course can be studied without purchasing another training programme. Any optional external service, dataset access or later paid instruction should be evaluated separately. The value of this introduction is a more precise understanding of the objects and information involved in a GIS script, rather than a guaranteed certificate, speed improvement or finished professional tool.
Related courses for your next step
- Explore tabular data transformationsFree SQL to Python pandas Course
Develop complementary reasoning about data columns and transformations.
Intermediate
Frequently asked questions
Is this suitable for someone who has never used Python?
The course requires basic Python and QGIS skills. Beginner refers to the introduction to PyQGIS, not to learning both subjects from scratch.
Is this the same as the QGIS plugin-development introduction?
No. This curriculum concentrates on the Python console, layer management, fields, feature attributes and geometry rather than setting up and deploying a plugin template.
Does watching the course produce a finished automation system?
No. You still need suitable data, version-aware code, testing and a clear workflow before relying on an automation.
Questions & discussion
Share a useful question or correction. Comments appear after moderation. Please avoid personal or sensitive information.